After buying 3 Raspberry Pis I needed somewhere to put them. I didn’t really like the black case, I had bought for one of them. A Google Search for Raspberry Pi Server Rack yielded a lot of result where people had built their own rack in Lego, so I decided to do the same.
I downloaded Lego Digital Designer and built a prototype of the rack with it and then used the “Pick a Brick” option at lego.com to buy the bricks I needed.
My design can be found here. This design has room for 7 Pis (my current build only has room for 3).
A few images of the process:
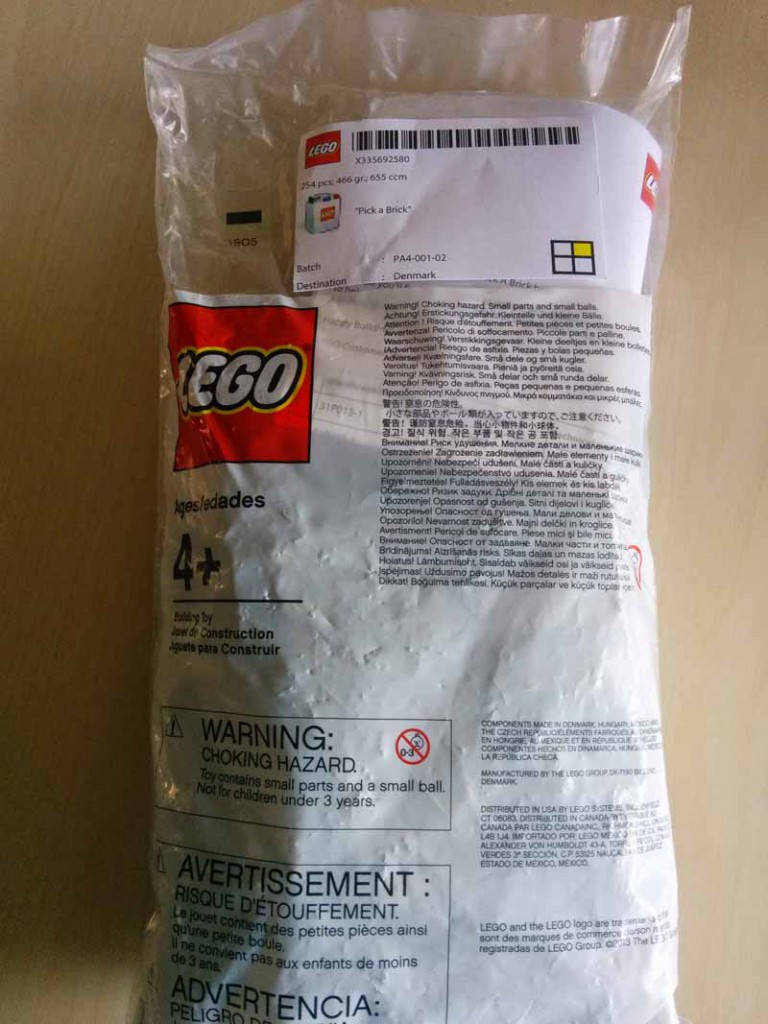
After a few days my bag of bricks arrived and the really fun parts began.

First of course, I needed to sort to bricks. Nobody builds lego without sorting the bricks first, right?
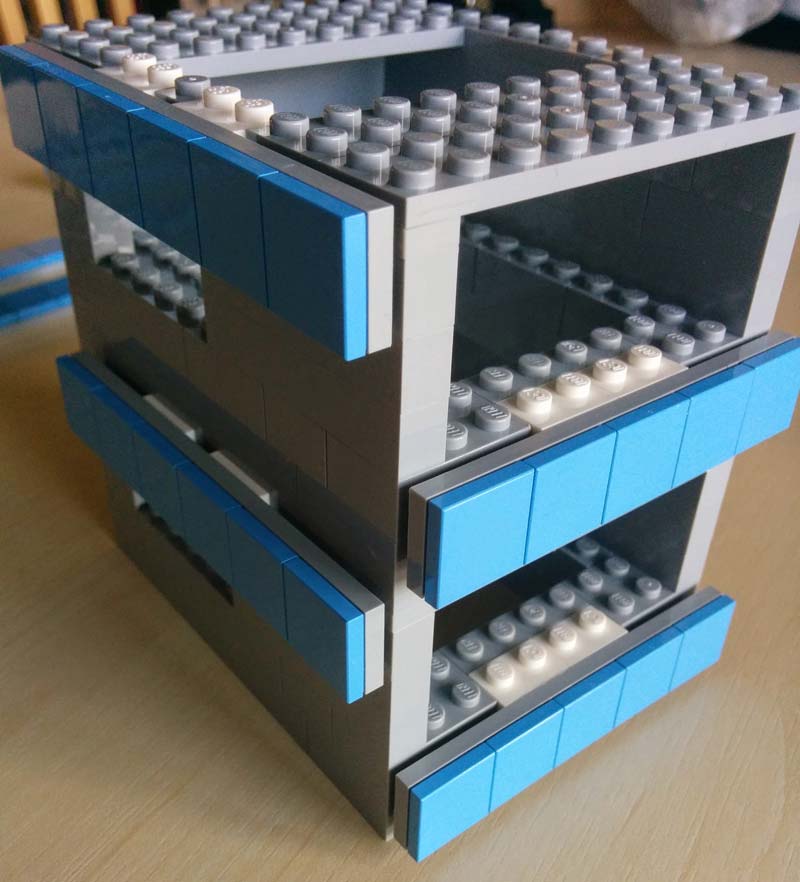
The finished rack with room for 2 Pis. The blue tiles are meant to make it easy to write the names and the purposes of the different Pis on the rack. I covered them with transparent tape before writing, so I can easily change the text without having to clean the tiles first.

The finished rack with Raspberry Pis. Next time I buy bricks, I might need a few extra bricks to keep the Pis in their place.